Avis : Ce blog est en anglais et non en français.
When it comes to authentication, many teams turn to cloud-based solutions like Okta, AWS Cognito, or Keycloak. These are great for scalability, but for self-hosted options, solutions like Gluu Server or .NET Identity Server with OpenIddict offer more control and flexibility. However, if you’re looking for a streamlined, open-source authentication provider, Authentik is a solid choice.
This guide will walk you through self-hosting Authentik on an Ubuntu Linux server, using Tailscale to securely expose it over a private network. This setup ensures a robust authentication system that’s easy to manage and accessible from anywhere securely.
Step 1: Setting Up the Authentik Environment
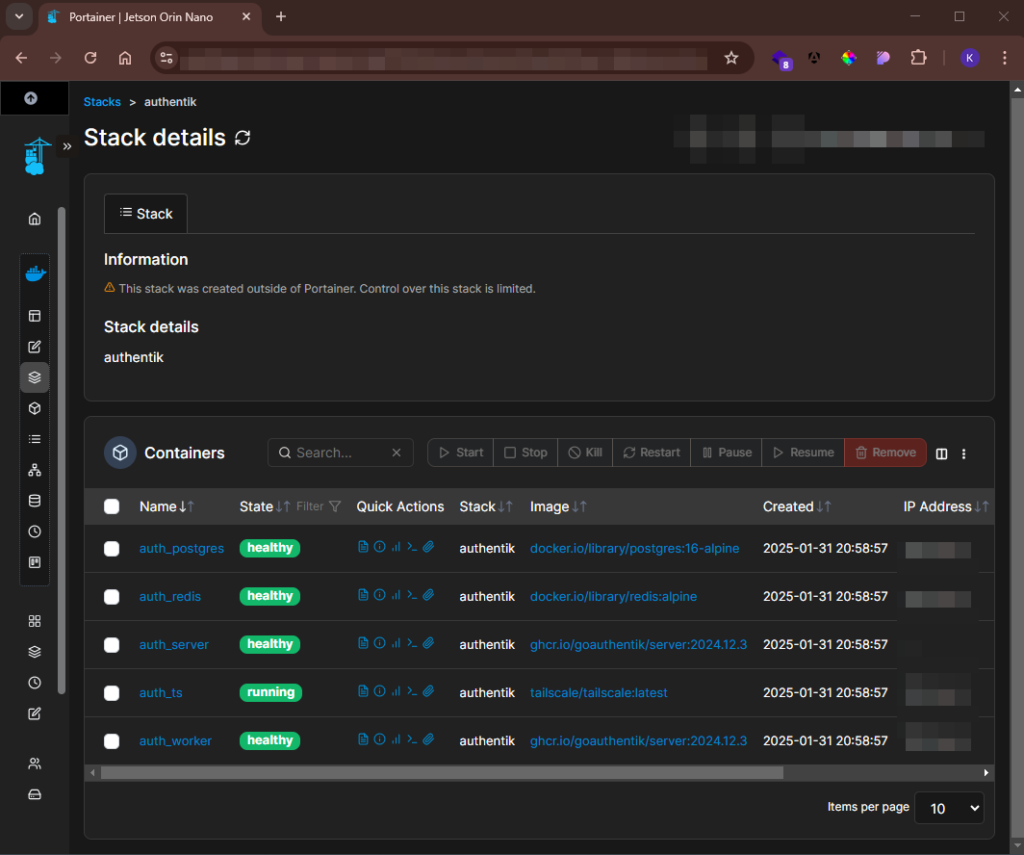
We’ll deploy Authentik with the following services:
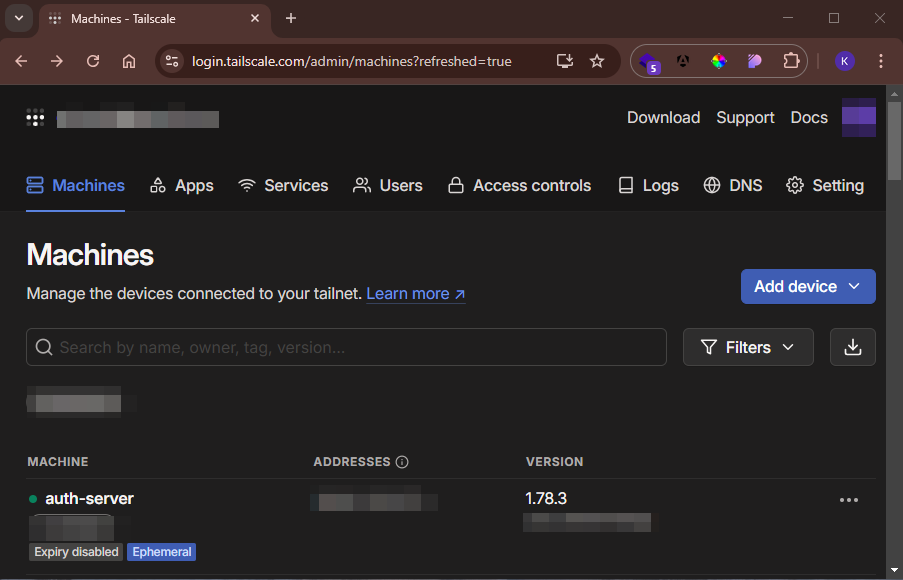
Tailscale: Securely expose the Authentik service over the network
PostgreSQL: Database for storing user authentication data
Redis: Cache and job queuing
Authentik Server: Core authentication system
Authentik Worker: Background job processor
Directory Structure
Create a directory to hold the necessary configuration files:
					mkdir -p ~/authentik/{app,ts}
cd ~/authentik
Create an .env File
Save the following contents in ~/authentik/.env:
					PG_PASS=your_secure_password
AUTHENTIK_SECRET_KEY=your_secure_secret_key
AUTHENTIK_ERROR_REPORTING__ENABLED=true
COMPOSE_PORT_HTTP=9523
COMPOSE_PORT_HTTPS=9524
AUTHENTIK_REDIS__HOST=redis
AUTHENTIK_POSTGRESQL__HOST=postgresql
Replace your_secure_password and your_secure_secret_key with secure values.
Step 2: Deploying Authentik with Docker Compose
Create a docker-compose.yml file in ~/authentik/:
					services:
  auth_ts:
    image: tailscale/tailscale:latest
    container_name: auth_ts
    hostname: auth_server
    environment:
      - TS_AUTHKEY=your_tailscale_auth_key
      - TS_EXTRA_ARGS=--advertise-tags=tag:homelab
      - TS_SERVE_CONFIG=/config/serve.json
      - TS_STATE_DIR=/var/lib/tailscale
      - TS_USERSPACE=false
    volumes:
      - ./ts/state:/var/lib/tailscale
      - ./ts/config:/config
    restart: unless-stopped
    cap_add:
      - net_admin
      - sys_module

  postgresql:
    container_name: auth_postgres
    image: docker.io/library/postgres:16-alpine
    restart: unless-stopped
    healthcheck:
      test: ["CMD-SHELL", "pg_isready -d $$POSTGRES_DB -U $$POSTGRES_USER"]
      start_period: 20s
      interval: 30s
      retries: 5
      timeout: 5s
    volumes:
      - ./app/postgres:/var/lib/postgresql/data
    environment:
      POSTGRES_PASSWORD: "${PG_PASS}"
      POSTGRES_USER: "${PG_USER:-authentik}"
      POSTGRES_DB: "${PG_DB:-authentik}"
    env_file:
      - .env

  redis:
    container_name: auth_redis
    image: docker.io/library/redis:alpine
    command: --save 60 1 --loglevel warning
    restart: unless-stopped
    healthcheck:
      test: ["CMD", "redis-cli", "ping"]
      start_period: 20s
      interval: 30s
      retries: 5
      timeout: 3s
    volumes:
      - ./app/redis:/data

  server:
    container_name: auth_server
    image: ghcr.io/goauthentik/server:2024.12.3
    restart: unless-stopped
    command: server
    environment:
      AUTHENTIK_SECRET_KEY: "${AUTHENTIK_SECRET_KEY}"
      AUTHENTIK_ERROR_REPORTING__ENABLED: "${AUTHENTIK_ERROR_REPORTING__ENABLED}"
      AUTHENTIK_REDIS__HOST: "${AUTHENTIK_REDIS__HOST}"
      AUTHENTIK_POSTGRESQL__HOST: "${AUTHENTIK_POSTGRESQL__HOST}"
      AUTHENTIK_POSTGRESQL__USER: "${PG_USER:-authentik}"
      AUTHENTIK_POSTGRESQL__NAME: "${PG_DB:-authentik}"
      AUTHENTIK_POSTGRESQL__PASSWORD: "${PG_PASS}"
    volumes:
      - ./app/media:/media
      - ./app/templates:/templates
    env_file:
      - .env
    depends_on:
      - postgresql
      - redis
      - auth_ts
    network_mode: service:auth_ts
Create a `serve.json` file in `~/authentik/ts/config/serve.json`:
					{
  "TCP": {
    "443": {
      "HTTPS": true
    }
  },
  "Web": {
    "your_domain:443": {
      "Handlers": {
        "/": {
          "Proxy": "http://127.0.0.1:9000"
        }
      }
    }
  }
}
Replace your_domain with your Tailscale domain.
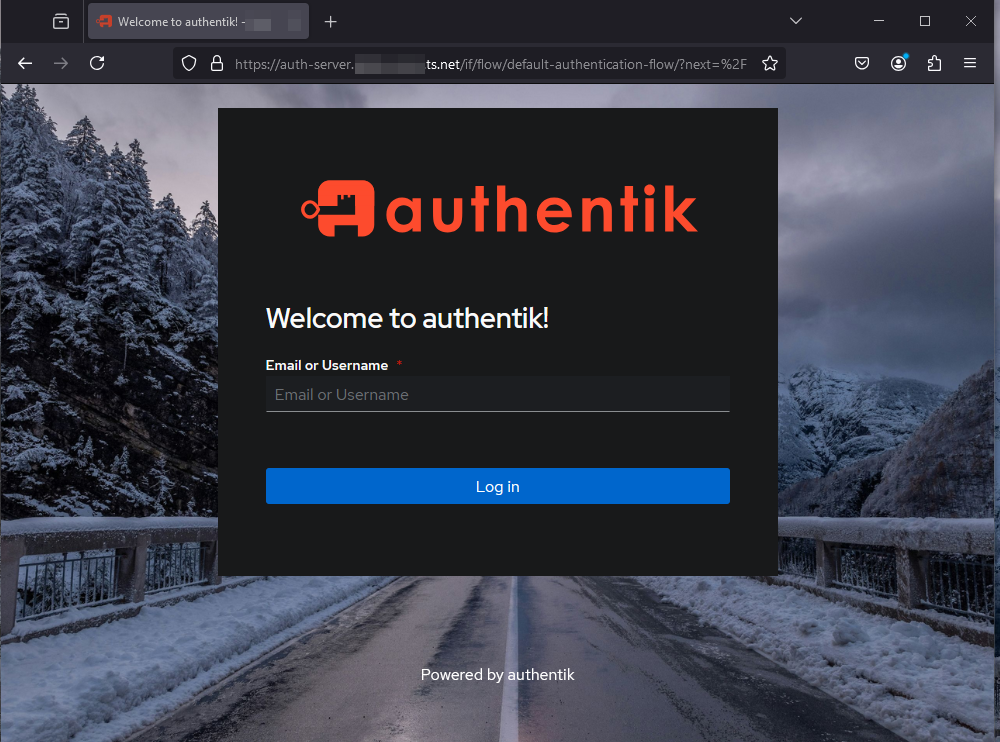
Step 4: Deploy and Access Authentik
Start the services using:
docker compose up -d
Access Authentik via your Tailscale IP:
https://your-tailscale-ip